Robot mower blades: when to replace and how to match a set

Replace mower blades according to the exact model’s instructions and their condition. Ragged grass tips justify inspection, but do not prove bluntness by themselves: mowing conditions and settings matter too. After an impact, visible damage or abnormal operation, do not wait for a calendar interval to expire.
On this page
Days and hours use different scheduling bases
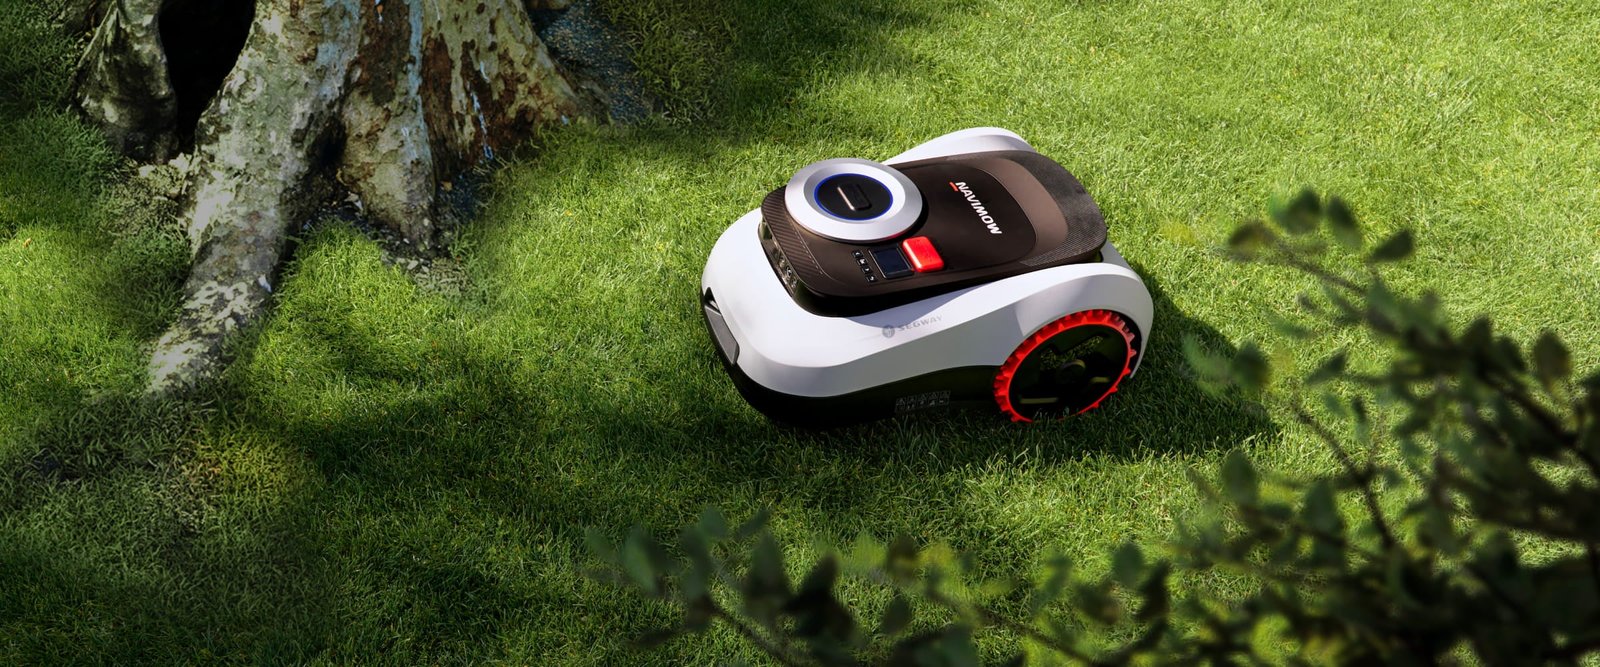
The Navimow i2 LiDAR Pro 260225-A manual specifies blade-and-screw replacement every one to two months with regular use. Its model-specific FAQ gives 80 operating hours. These should not be presented as identical values: elapsed months and operating hours use different bases. Confirm the current schedule for your version and inspect condition.
Do not transfer this example to another Navimow series or a competing mower. Blade dimensions and mounting arrangements can differ too. Match parts to the complete cutting assembly, rather than buying a similar-looking piece of metal.
What 80 hours means at different use levels
| Assumed daily operating hours | 80 hours reached after approximately | Interpretation |
|---|---|---|
| 2 | 40 days | Arithmetic for evenly distributed use |
| 4 | 20 days | Do not automatically wait for month-end |
| 6 | 13.3 days | This does not recommend six hours of daily mowing |
The calculation divides 80 by the assumed daily hours. It illustrates usage intensity, rather than establishing a safe replacement date for every blade. Check what your machine’s counter measures: task duration can include activity other than cutting. Without a confirmed definition, it is not a precise wear meter.
Inspect before ordering parts
| Observation or item | Check | Decision |
|---|---|---|
| Ragged grass | Blade condition, cutting height and mowing conditions | Do not attribute every problem solely to blades |
| Impact or visible damage | The components identified in the inspection procedure | Stop and address the cause before returning to work |
| Unusual noise or vibration | Safe shutdown and prescribed diagnosis | Do not repeat runs with a damaged assembly |
| Replacement set | Part code, supported series and required screws | Confirm the complete mounting set |
Treat replacement as a complete maintenance task
The cited i2 LiDAR Pro manual requires all blades and their screws to be replaced together, without reusing the old screws. This does not establish a universal blade count or tightening torque. Those details belong to the exact assembly and its documentation.
Before touching the cutting assembly, switch off and prevent starting as prescribed. Use the required hand protection and a stable servicing position. Follow the documented sequence and check the specified movement of pivoting blades. If a fixing is damaged or uncertain, use qualified service instead of fitting an arbitrary screw.
Keep a useful maintenance record
Record the date, counter reading, replacement part code, reason for changing and any damage found. Over time, that distinguishes ordinary wear from repeated impacts in the same garden area. Removing the source of damage may reduce interruptions more effectively than ordering additional blade packs.
After correct installation, perform the manual’s permitted checks and inspect the result of the next ordinary mowing task. A mower moving away from the station is not sufficient acceptance. If noise or vibration remains, stop: new blades do not automatically repair other parts of the cutting assembly.
Your next step
Confirm the complete replacement-set code and start a maintenance log. Record counter readings and blade condition rather than relying only on calendar months.
Sources and method
Documentation checked on 12 September 2026. Model information comes from manufacturer materials. Acceptance sheets, comparison procedures and worked examples are RoboMorrow editorial analysis, not results of our hands-on device tests. Confirm requirements for the exact variant and market.