Plumbed robot vacuum dock: checks before installation
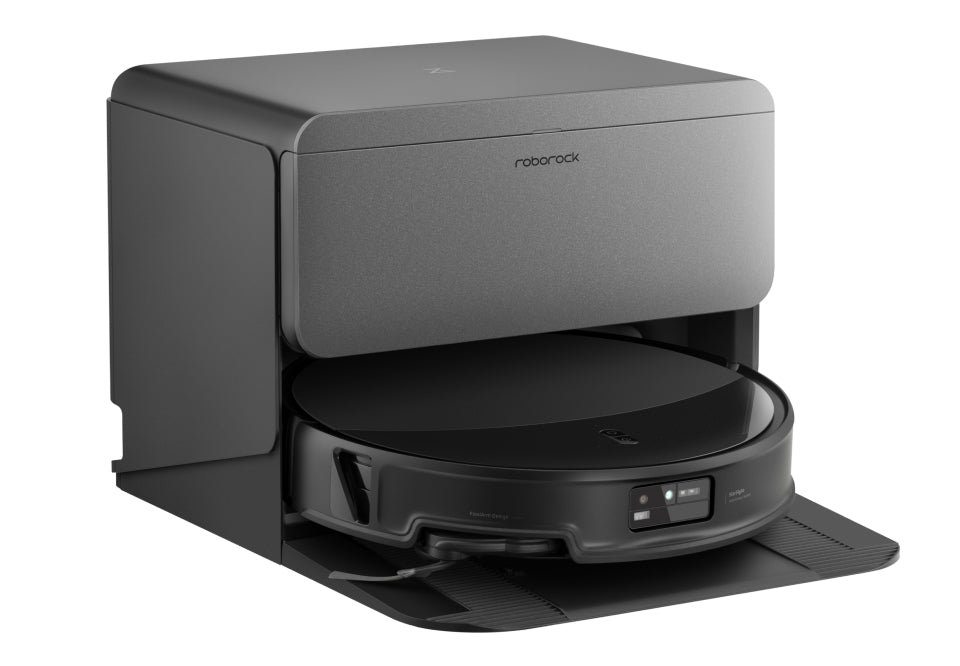
A plumbed dock makes sense when carrying clean and dirty water is the main chore left after buying a robot vacuum. It also needs an installation location that meets the exact variant’s requirements. A nearby sink and the words “automatic station” do not establish compatibility. Before ordering, obtain a connection drawing, a service-access plan and a clear list of what the quote includes.
On this page
Two dock types leave different work behind
| Type | Recurring work | Checks before purchase |
|---|---|---|
| Removable tanks | Carry clean and dirty water | Tank removal, route to the sink, filled-tank handling |
| Plumbed dock | Inspect connections and clean accessible components | Supply, drain, isolation valve, power and service access |
| Retrofit module | Depends on the supported combination | Written compatibility with the robot and dock |
Do not assume a tank dock can be converted later. Retail titles often omit the variant suffix. Ask for the product codes of the dock and installation kit, rather than only the robot name. If those cannot be supplied, future conversion should not be part of your purchase justification.
Saros 20 illustrates why cabinet size is not dock size
Roborock’s global documentation shows a tank version and a refill-and-drainage version of Saros 20, with the latter restricted to selected markets. The respective dock heights are 488 and 300 mm. For the plumbed version, the manufacturer specifies an installation space of approximately 30.5 cm high, 40 cm wide and 120 cm deep. These are one variant’s requirements, not a universal cabinet specification.
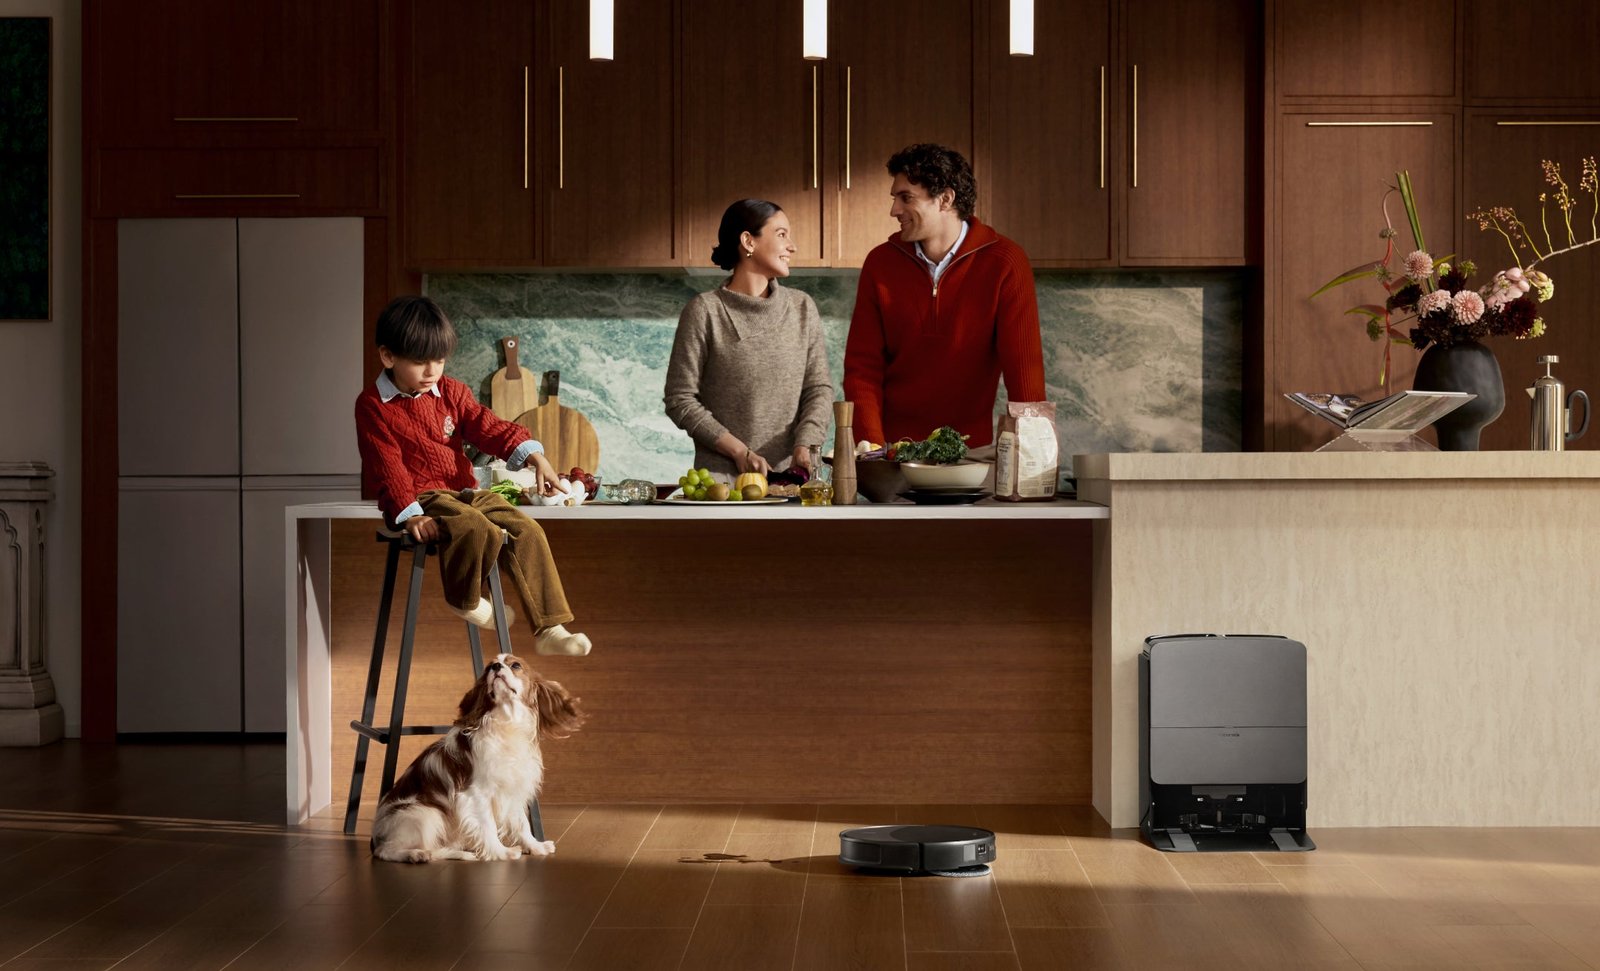
Draw the machine, its approach path and the space needed for servicing separately. Opening a panel, removing a washing component and reaching a valve should not require dismantling furniture. A promotional photograph of a dock under a cabinet cannot establish whether later maintenance will be practical.
A site card for your installer
| Item | Record | Handover requirement |
|---|---|---|
| Water supply | Valve position, connection type, required parameters | Installer confirms compliance with the manual |
| Drain | Hose route and height changes | Route meets the chosen dock’s requirements |
| Power | Socket location and cable route | No conflict with water or moving parts |
| Service access | Water isolation and dock removal | Access remains possible after fitting furniture |
| Robot route | Approach, thresholds, doors and turning space | Repeatable departure and return after installation |
Do not select water pressure or hose sizes using instructions for another model. Have a competent installer handle plumbing work. Avoid routes where people or doors can crush or catch hoses. Connections should remain accessible even when the robot is parked.
Count only the tasks that disappear
For an illustrative calculation, suppose changing water takes four minutes and happens three times each week. That is 12 minutes weekly, or around ten hours over 50 weeks. This is arithmetic using stated assumptions, not a measured dock result. Do not add tray cleaning or dust-bag changes to the saving if those tasks remain.
Add installation, cabinet preparation and future access costs to the equipment price. In a rented home or before a planned move, the flexibility of a tank dock may be worth more than reducing trips to the sink. Compare the actual local offer: a plumbed variant on a global product page is not proof of availability in your country.
What to check at handover
Ask the installer to demonstrate water isolation, care of accessible filters and the manufacturer’s disconnection procedure. Check a complete refill, washing and drainage cycle, then inspect the connections together. Demonstrating that the robot charges does not test the plumbing installation.
Keep product codes, photographs of the completed connections and installation documents. Stop using a leaking or improperly draining setup and follow the manufacturer’s procedure. Automatic water replacement reduces tank handling; it does not remove the need to inspect the installation.
Your next step
Before ordering, complete the site card and confirm the exact dock and installation kit. Use the dimensions guide to plan service access.
Sources and method
Documentation checked on 12 September 2026. Model information comes from manufacturer materials. Acceptance sheets, comparison procedures and worked examples are RoboMorrow editorial analysis, not results of our hands-on device tests. Confirm requirements for the exact variant and market.