How to prepare a garden for a robot mower: 12 checks before starting
BUYING IN YOUR MARKET
Availability in your country
Sales, delivery and support can differ by country and exact model. Choose your market to see the evidence we have checked.
MAMMOTION YUKA mini 2 800
Germany
Local store offer — check checkout availability
- Seller / sales channel
- Mammotion Germany
- Price
- See the local offer for the current price and exact bundle
- Delivery
- Confirm stock and the delivery date for your address with the seller
- Warranty and service
- Confirm written warranty terms, parts and service coverage for your address
Mammotion Germany lists this exact model for this market. A listing is evidence of a buying route, not a delivery commitment.
Evidence checked: · Not a live stock feed
Mammotion Germany: check local offer ↗No verified local offer in this dataset
No country-specific offer for this exact model has been established in our current sources. This is a gap in our research, not a statement that the robot cannot be bought here. Use the manufacturer’s sales contact to request a supplier serving your address; confirm configuration, imports, warranty and service.
- Price
- No verified local price in this dataset
- Delivery
- No confirmed date for your address
- Warranty and service
- Local coverage not verified
Segway Navimow i210 LiDAR Pro
Germany
Local store offer — check checkout availability
- Seller / sales channel
- Navimow Germany
- Price
- See the local offer for the current price and exact bundle
- Delivery
- Confirm stock and the delivery date for your address with the seller
- Warranty and service
- Confirm written warranty terms, parts and service coverage for your address
Navimow Germany lists this exact model for this market. A listing is evidence of a buying route, not a delivery commitment.
Evidence checked: · Not a live stock feed
Navimow Germany: check local offer ↗No verified local offer in this dataset
No country-specific offer for this exact model has been established in our current sources. This is a gap in our research, not a statement that the robot cannot be bought here. Use the manufacturer’s sales contact to request a supplier serving your address; confirm configuration, imports, warranty and service.
- Price
- No verified local price in this dataset
- Delivery
- No confirmed date for your address
- Warranty and service
- Local coverage not verified
GARDENA smart SILENO free 800
Germany
Local manufacturer catalogue — ask about ordering
- Seller / sales channel
- GARDENA Germany
- Price
- See the local offer for the current price and exact bundle
- Delivery
- Confirm stock and the delivery date for your address with the seller
- Warranty and service
- Confirm written warranty terms, parts and service coverage for your address
GARDENA Germany lists this exact model for this market. A listing is evidence of a buying route, not a delivery commitment.
Evidence checked: · Not a live stock feed
GARDENA Germany: check local offer ↗No verified local offer in this dataset
No country-specific offer for this exact model has been established in our current sources. This is a gap in our research, not a statement that the robot cannot be bought here. Use the manufacturer’s sales contact to request a supplier serving your address; confirm configuration, imports, warranty and service.
- Price
- No verified local price in this dataset
- Delivery
- No confirmed date for your address
- Warranty and service
- Local coverage not verified
ECOVACS GOAT O800 RTK
Germany
Local store offer — check checkout availability
- Seller / sales channel
- Coolblue Germany
- Price
- See the local offer for the current price and exact bundle
- Delivery
- Confirm stock and the delivery date for your address with the seller
- Warranty and service
- Confirm written warranty terms, parts and service coverage for your address
Coolblue Germany lists this exact model for this market. A listing is evidence of a buying route, not a delivery commitment.
Evidence checked: · Not a live stock feed
Coolblue Germany: check local offer ↗No verified local offer in this dataset
No country-specific offer for this exact model has been established in our current sources. This is a gap in our research, not a statement that the robot cannot be bought here. Use the manufacturer’s sales contact to request a supplier serving your address; confirm configuration, imports, warranty and service.
- Price
- No verified local price in this dataset
- Delivery
- No confirmed date for your address
- Warranty and service
- Local coverage not verified
“Listed” confirms a product page or sales route, not stock, delivery to every address or local service. “Pre-order” is not immediate availability. Unverified means we lack evidence; it does not mean unavailable. Prices belong to the named market and currency. Confirm the exact version, tax, shipping and support before ordering.
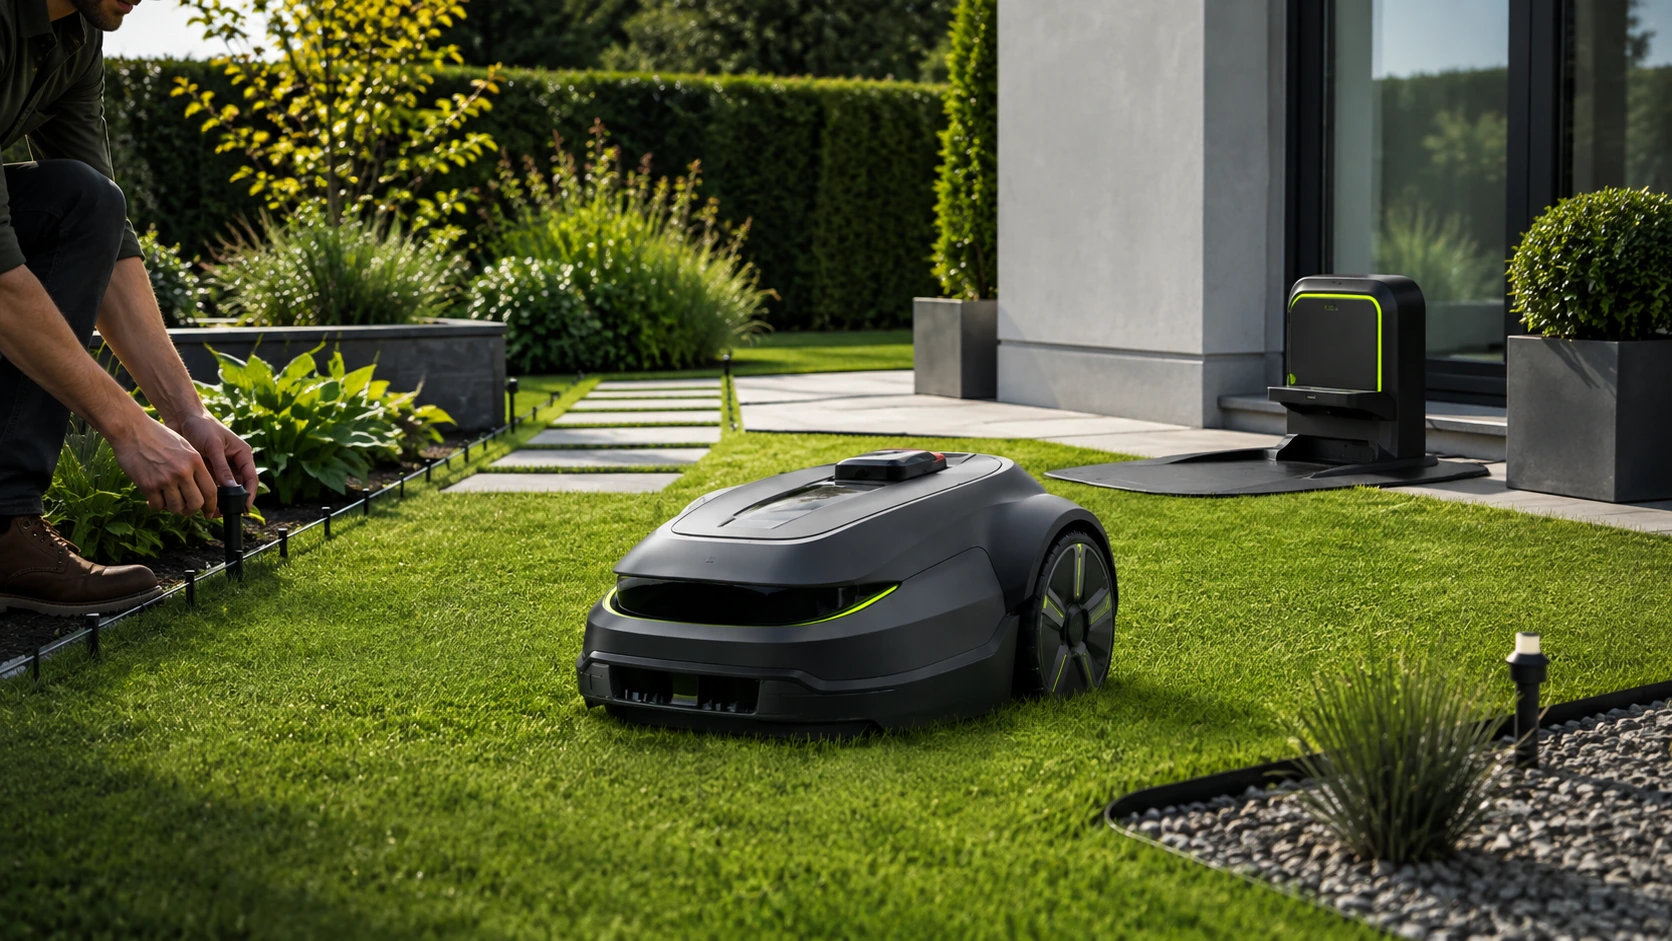
A good robotic mower won't fix a poorly prepared garden. Even the best navigation will lose time on loose stones, collapsing edges, too narrow passages and objects left in the grass. Preparing the area before the first run usually takes a few hours, but after that it reduces the number of stops, reworks and damage.
It's not about rebuilding the entire garden for the machine. In most cases, all you need to do is tidy up the borders, fix a few problem spots, set up the station properly, and plan your first map. This guide guides you through the entire process - for both wired robots and models using RTK, cameras or LiDAR.
Shortest checklist before first launch
- cutting too high grass with a regular mower;
- removal of branches, stones, wires, toys and tools;
- protection of ponds, stairs, steep drops and other risk areas;
- check the width of all passages;
- leveling of deep ruts, holes and protruding roots;
- selecting a dry, stable place for the charging station;
- providing power in accordance with the manufacturer's instructions;
- check conditions for RTK, Wi-Fi or cellular communication;
- dividing the garden into zones and prohibited areas;
- set a safe schedule when there are no children or pets on the lawn;
- first runs under supervision;
- map correction only after observing actual operation.
1. Measure actual lawn area
The plot area is not a mowing area. The house, terrace, driveway, flowerbeds, paths, swimming pool, gazebo and all other areas without grass must be subtracted from the total square footage. The result is important when selecting robot performance and scheduling.
It is also worth counting each part of the lawn separately. A 700 m² garden divided into five small zones may be more difficult than one 1000 m² open lawn. The robot wastes time commuting, making turns and relocating after traveling between zones.
More about performance selection: robot mowing up to 500 m² and robot mowing up to 1000 m².
2. Do the first mowing with a classic mower
The robot is designed to regularly cut a small portion of the blades, not to cut through tall, dense grass once. If the lawn is overgrown, before starting it must be mowed traditionally to a height close to the robot's range.
Too tall grass may:
- load the disc and motors;
- wrap around cutting elements;
- cover small obstacles;
- make it harder for the camera to detect edges;
- cause uneven results in the first days.
Do not set the minimum height immediately. It is safer to start higher and then lower the mowing gradually, observing the condition of the grass and the behavior of the device.
3. Remove things the robot shouldn't encounter
You must cover the entire area before the first ride. There are not only large items to collect, but also thin ropes, garden hoses, lighting cables, toys, pine cones, fruit, branches and small stones.
The obstacle detection system cannot be treated as a guarantee of noticing every object. A thin wire, lanyard, string, piece of netting or a small toy may be found under the housing. The consequences may be stopping the dial, damaging the object or having to untangle the mechanism.
The best rule is to leave the lawn in a condition that you could safely drive over with a regular lawn mower without stopping first.
4. Protect water, stairs and sudden drops
A pond, swimming pool, open stairs, retaining wall and a sudden slope in the ground require a larger margin than a regular flower bed. In such places, it is not worth relying solely on a virtual line drawn a few centimeters from the edge.
Depending on conditions, the following applies:
- physical border or low fence;
- larger forbidden zone;
- cable laid with a safe distance;
- changing the course of the border so that the robot does not turn directly over the slope.
The exact distance must result from the instructions of the specific model and the actual behavior of the robot. The maximum accuracy declared for navigation is not a valid safety margin.
5. Check the edges of the lawn
The robot works best on a flat edge that it can partially run over. A high wall, vertical palisade or raised bed directly next to the grass will usually leave a strip requiring trimming.
Before installation, it is worth distinguishing three types of edge:
- flat - cube or edging at lawn level;
- increased — wall, fence, flowerpot, curb;
- ambiguous - Grass transitioning to gravel, bark or loose border.
The map or wire may require a different spacing for each. With loose gravel, check that the wheels will not push pebbles under the cutting disc.
6. Level out holes, ruts and protruding roots
A slight unevenness is not a problem, but a deep rut can hang the casing or a protruding root can hit the disc or casing. You especially need to check places where the robot will regularly turn around or approach the station.
Do not cover the entire garden unnecessarily. First, it is worth observing the places where the wheels lose traction or the device touches the ground. Problem points can be leveled with soil, stabilized with turf or excluded from the work area.
Wet grass is also important on slopes. A model that goes over a dry slope may slide in the rain. Separate guide: slope robot mower.
7. Measure narrow passages
The enclosure width is not the same as the minimum corridor width. The robot needs space to correct its position, turn around and maintain a distance from two parallel boundaries.
The most difficult rides are:
- between two walls;
- under dense treetops;
- along the metal fence;
- with a sharp turn at the end;
- connecting two lawns through pavers or gravel.
Before purchasing, you need to check the manufacturer's requirements and after installation, observe several passes. If the robot constantly rubs against the edge or makes many adjustments, it is better to widen the aisle, change the transport route, or treat the second zone as a service area after manual relocation.
8. Choose a good place for the charging station
The station should be placed stably, on a possibly even and well-draining surface. The robot must have easy access and space provided by the manufacturer in front and on the sides of the station.
Bad places include:
- a depression in which water stands after rain;
- steep section of lawn;
- tight corner with no room to maneuver;
- area continuously covered by the sprinkler;
- a place where a difficult, slippery passage leads;
- point away from a safe power source.
A canopy can protect the device from sun and dirt, but should not restrict the antenna, camera, or docking method. You must use a structure consistent with the model requirements.
9. Check power, connectivity and navigation conditions
Before installation, make sure that the electrical installation and power supply can be used outdoors in accordance with the instructions. An extension cord temporarily run through the lawn is not a good permanent solution.
For models without cable, navigation conditions are added:
- RTK needs appropriate conditions for receiving satellite signals and corrections;
- the local reference station must be set according to the instructions;
- Network RTK may require stable internet or data connection;
- the camera needs a clear environment and visible boundaries;
- LiDAR should have enough environmental features for localization.
If your garden has high walls and dense trees, it is worth reading before purchasing: robot mower without boundary wire - possibilities and limitations and Vision AI or RTK?.
10. Plan zones, prohibitions and transport routes
It's not worth creating one complicated map the first time. First, designate the main mowing area and then add additional zones and exclusion areas.
Restricted zones are useful around:
- temporary border or freshly sown grass;
- trampolines and low structure elements;
- children's play area;
- fruits falling seasonally from trees;
- feeder, waterer or place where animals live;
- area of repaired turf.
The transport route should allow safe passage without mowing. You need to check whether the robot can overcome the cube, level differences and thresholds between zones.
11. Make your first runs under supervision
After starting, do not leave the robot alone for several hours. The most informative observation is:
- station departure;
- access to all corners;
- border behavior;
- pass through the narrowest corridor;
- turning on a slope;
- reaction to typical obstacles;
- return to charging.
The virtual map should not be placed very close to water, stairs or a busy road. It's a good idea to set a larger margin first and then reduce it gradually after a few safe cycles.
12. Set a secure schedule
The robot should work when the garden is empty. This applies especially to children, dogs, cats and the nocturnal activity of hedgehogs and other small animals.
A good schedule includes:
- hours of garden use;
- irrigation;
- dew and typical wet grass periods;
- turf growth rate;
- quiet at night and comfort of neighbors;
- time needed to make up for breaks after rain.
Obstacle detection is an additional layer of protection, but is not a substitute for a sensible schedule and keeping the lawn free of loose objects.
The most common garden preparation mistakes
- buying a model exactly on the border of the declared size;
- putting the station in the most convenient place for a human, but difficult for a robot;
- mapping the garden with tall grass and obstacles left;
- running virtual boundary too close to water or fault;
- assume that the camera will notice every thin wire and small object;
- ignore minimum corridor width;
- start immediately at minimum cutting height;
- publishing map without checking return to station;
- night mowing in a hedgehog garden;
- no plan for seasonal changes, e.g. leaves, fruit and moved furniture.
Do you need to rebuild your garden?
Mostly no. A few small changes can have a greater effect than paying extra for a higher model. A flat edge will limit trimming, hardening the access will improve docking, and removing one problematic threshold will enable independent operation of two zones.
If the garden requires many expensive changes just for a specific robot to work, it is worth reconsidering the selection of technology. In a shady garden, a wired model may make more sense than an RTK, and in a garden with variable boundaries, a cable-free solution may save on rework later on.
FAQ
Can the robot start working on tall grass?
Shouldn't. The robot is designed to frequently trim small pieces of grass. An overgrown lawn should first be mowed traditionally.
Do I need to remove all trees from the map?
No. A stable tree trunk is usually an easy obstacle. However, you need to be careful with exposed roots, loose soil and a very narrow space between the trunk and the border.
Can the station stand on a cube?
It depends on the robot design and instructions. The most important are stability, level, proper access, water drainage and the method of installation of the station.
Can the robot drive on the sidewalk?
Many models can use transport routes on a paved surface, but you need to check the allowable thresholds, slope and way of marking the route.
Do you need to have Wi-Fi throughout the garden?
Not always. It depends on the model and method of communication. Some features work via Bluetooth or cellular, and Network RTK may require constant transmission of corrections.
When to revise the map?
Preferably after a few observed runs. The first map should have safe margins. Only then can you optimize edges and zones.
Related materials
- Robot Mowers 2026: Complete Selection Guide
- Robot mower without boundary wire
- RTK or boundary wire?
- Robot mowing for a small garden
- Slope robot mower
Official Sources
- GARDENA - installation materials and preparation for the first mowing
- Husqvarna - Installation Examples and Work Area Planning
- Husqvarna Robotic Lawn Mower Installation Guide
Required spacing, passage widths, station installation and safety practices vary between models. Robot-specific instructions take precedence over general instructions.
Related tabs in Robot Database
Check the verified model cards associated with this advisory. Product price, availability and status are updated separately in the Robot Database.
- MAMMOTION YUKA mini 2 800
- SEGWAY NAVIMOW i210 LiDAR Pro
- GARDENA smart SILENO free 800
- ECOVACS GOAT O800 RTK
See the entire Robot Database →
Garden handover: one record for the complete installation
Before starting a schedule, turn the preparation list into an acceptance record. Every zone needs a way to start and finish its task, including areas requiring manual transport.
| Element | Readiness evidence |
|---|---|
| Zones | Names, areas, exclusions and access method |
| Passages | Minimum clearance, manual requirements and trials both ways |
| Charging | Return from every automatically served zone |
| Operation | Responsibility for gates, carrying and ground checks |
| Season | Station photographs, storage instructions and configuration record |
Keep the sketch with the quote and manual. Revisit the relevant acceptance check after adding a bed, changing a gate or moving the base. A successful previous season does not validate the new arrangement. These records also help service staff investigate incomplete routes.
Where to buy models from this article
We show only exact verified Amazon product pages. Before purchase, confirm the variant, seller, warranty and box contents.
Exact Amazon links. Where a verified RoboMorrow marketplace tracking ID is active, the link is an affiliate link and we may earn from qualifying purchases. Price and availability can change after you click.